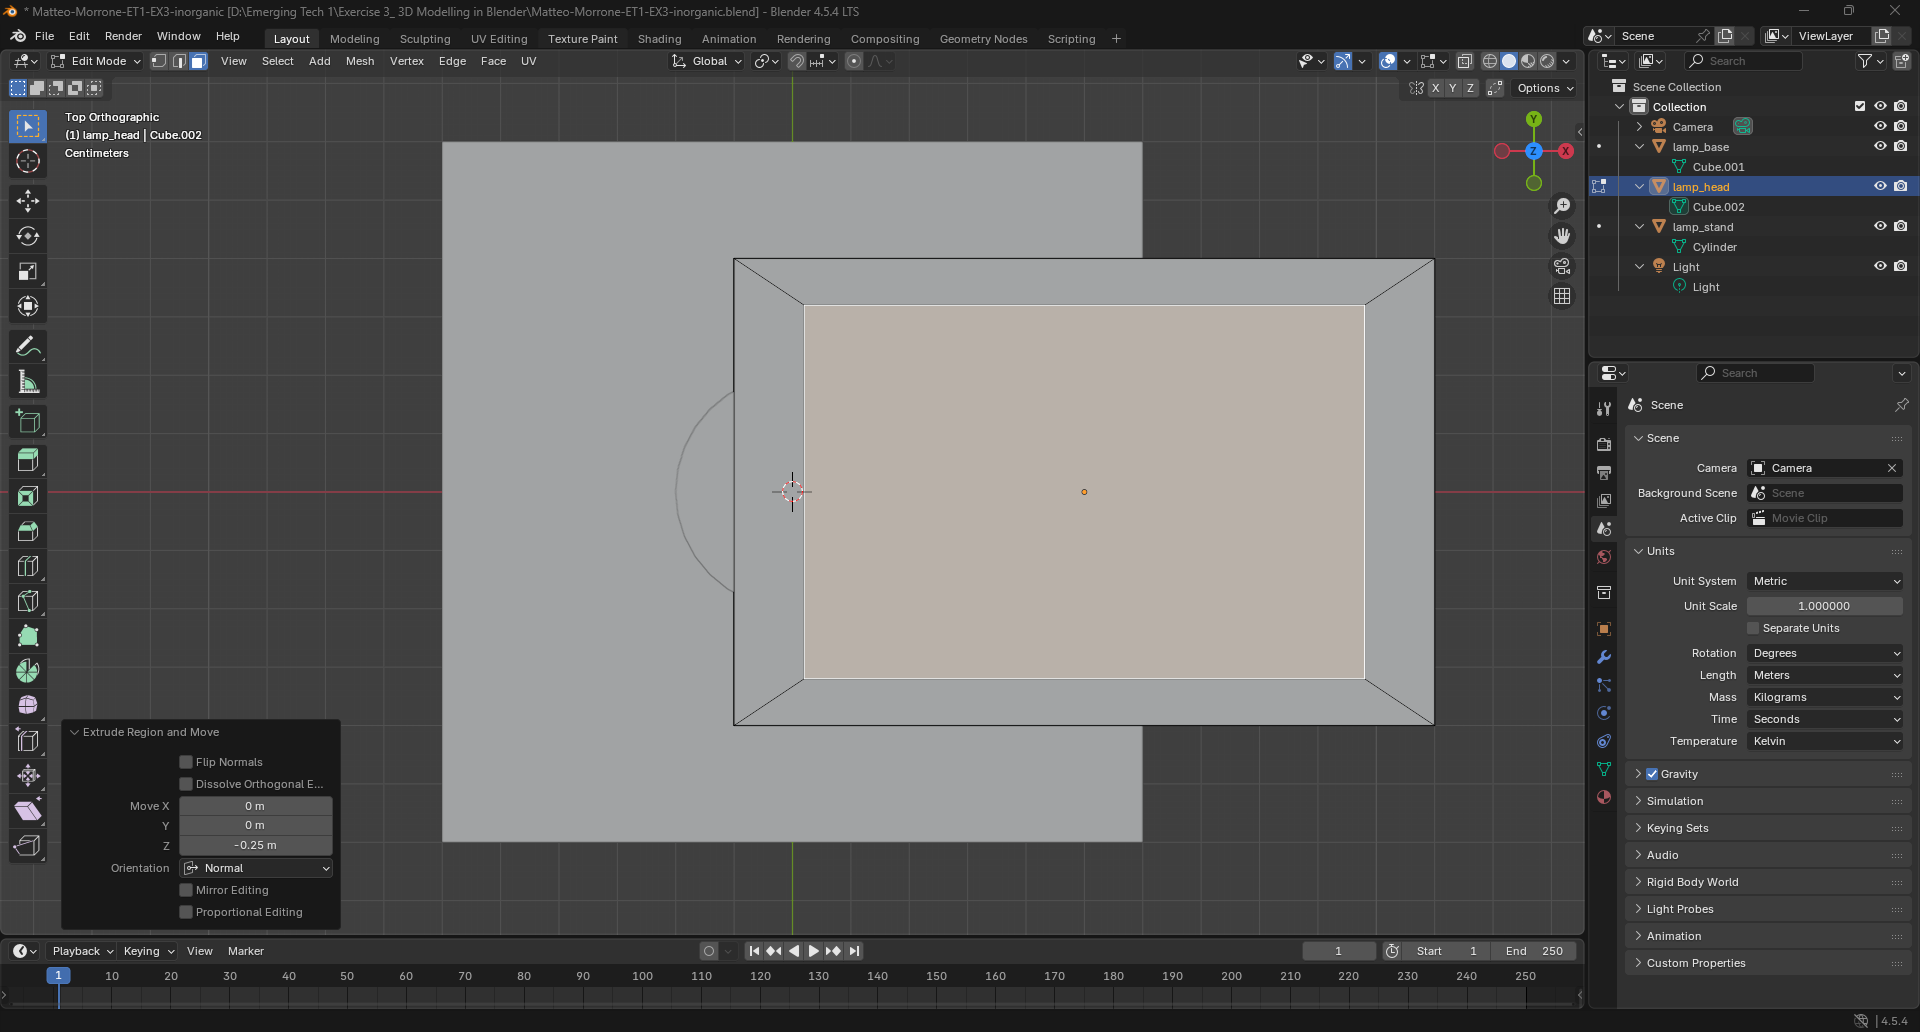
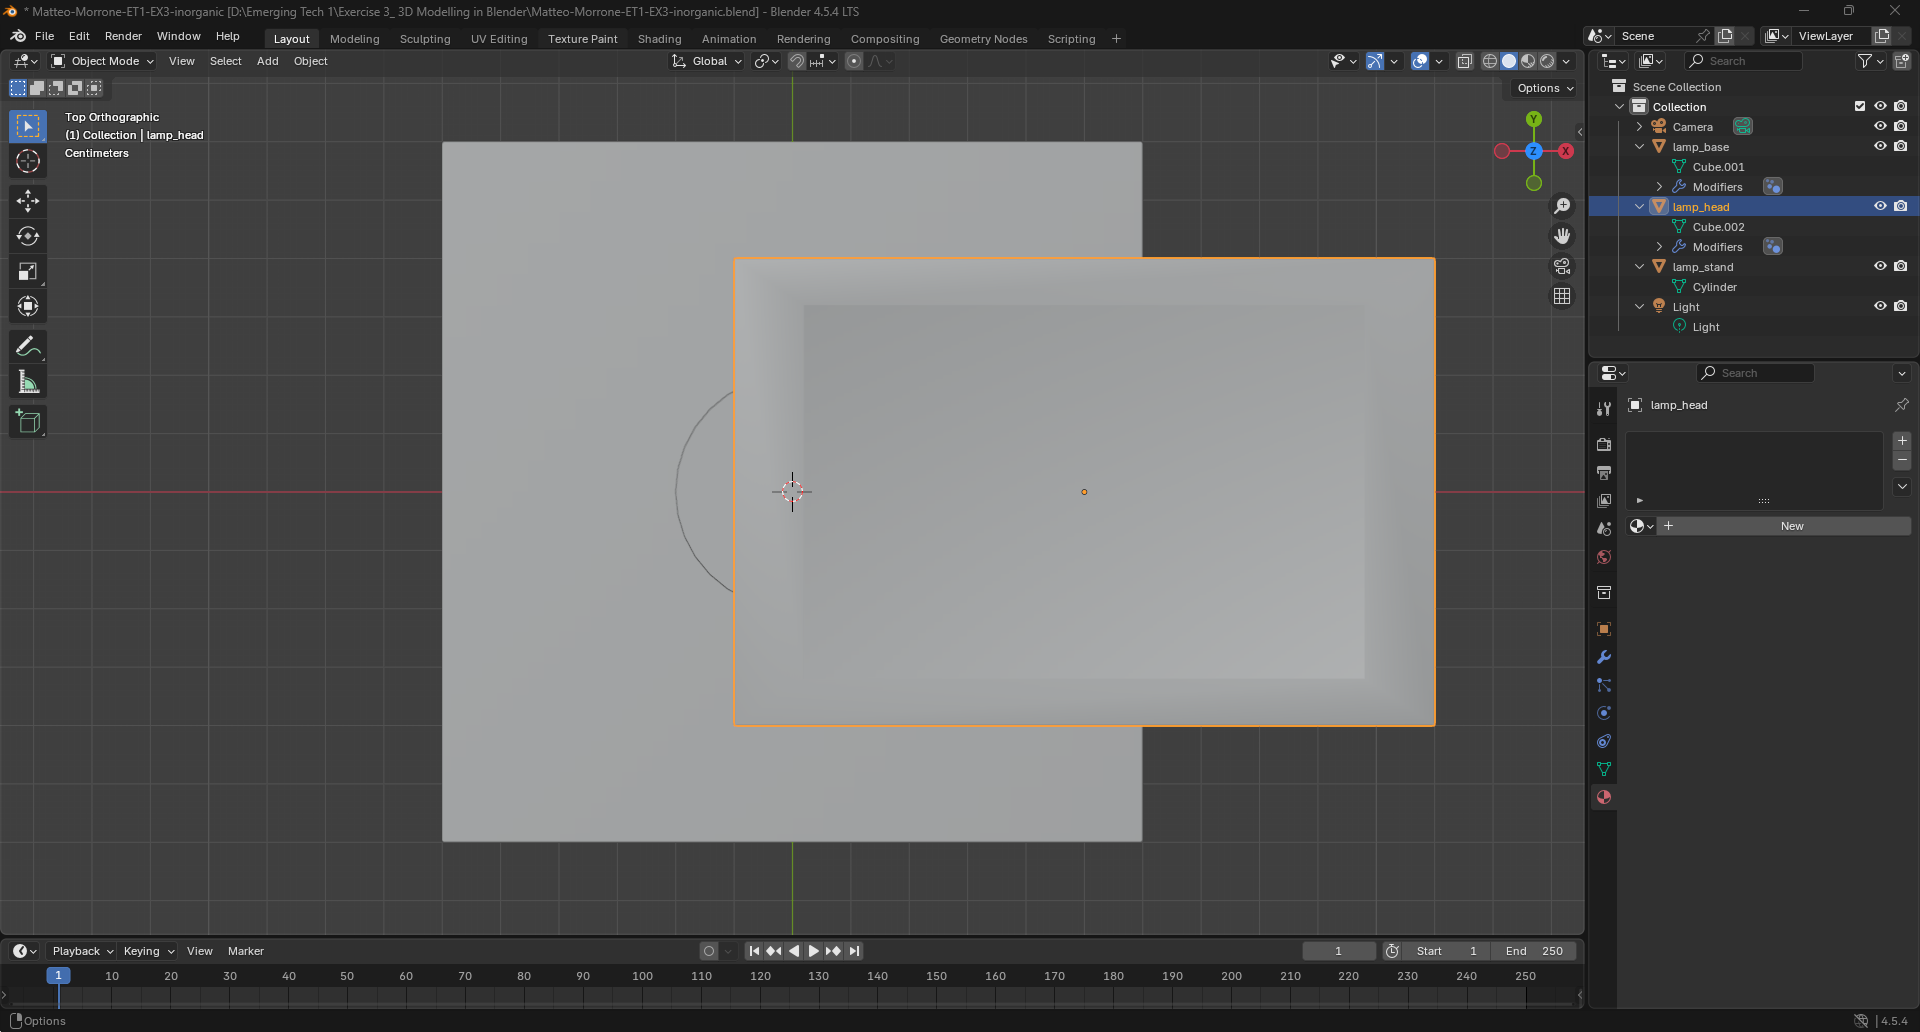
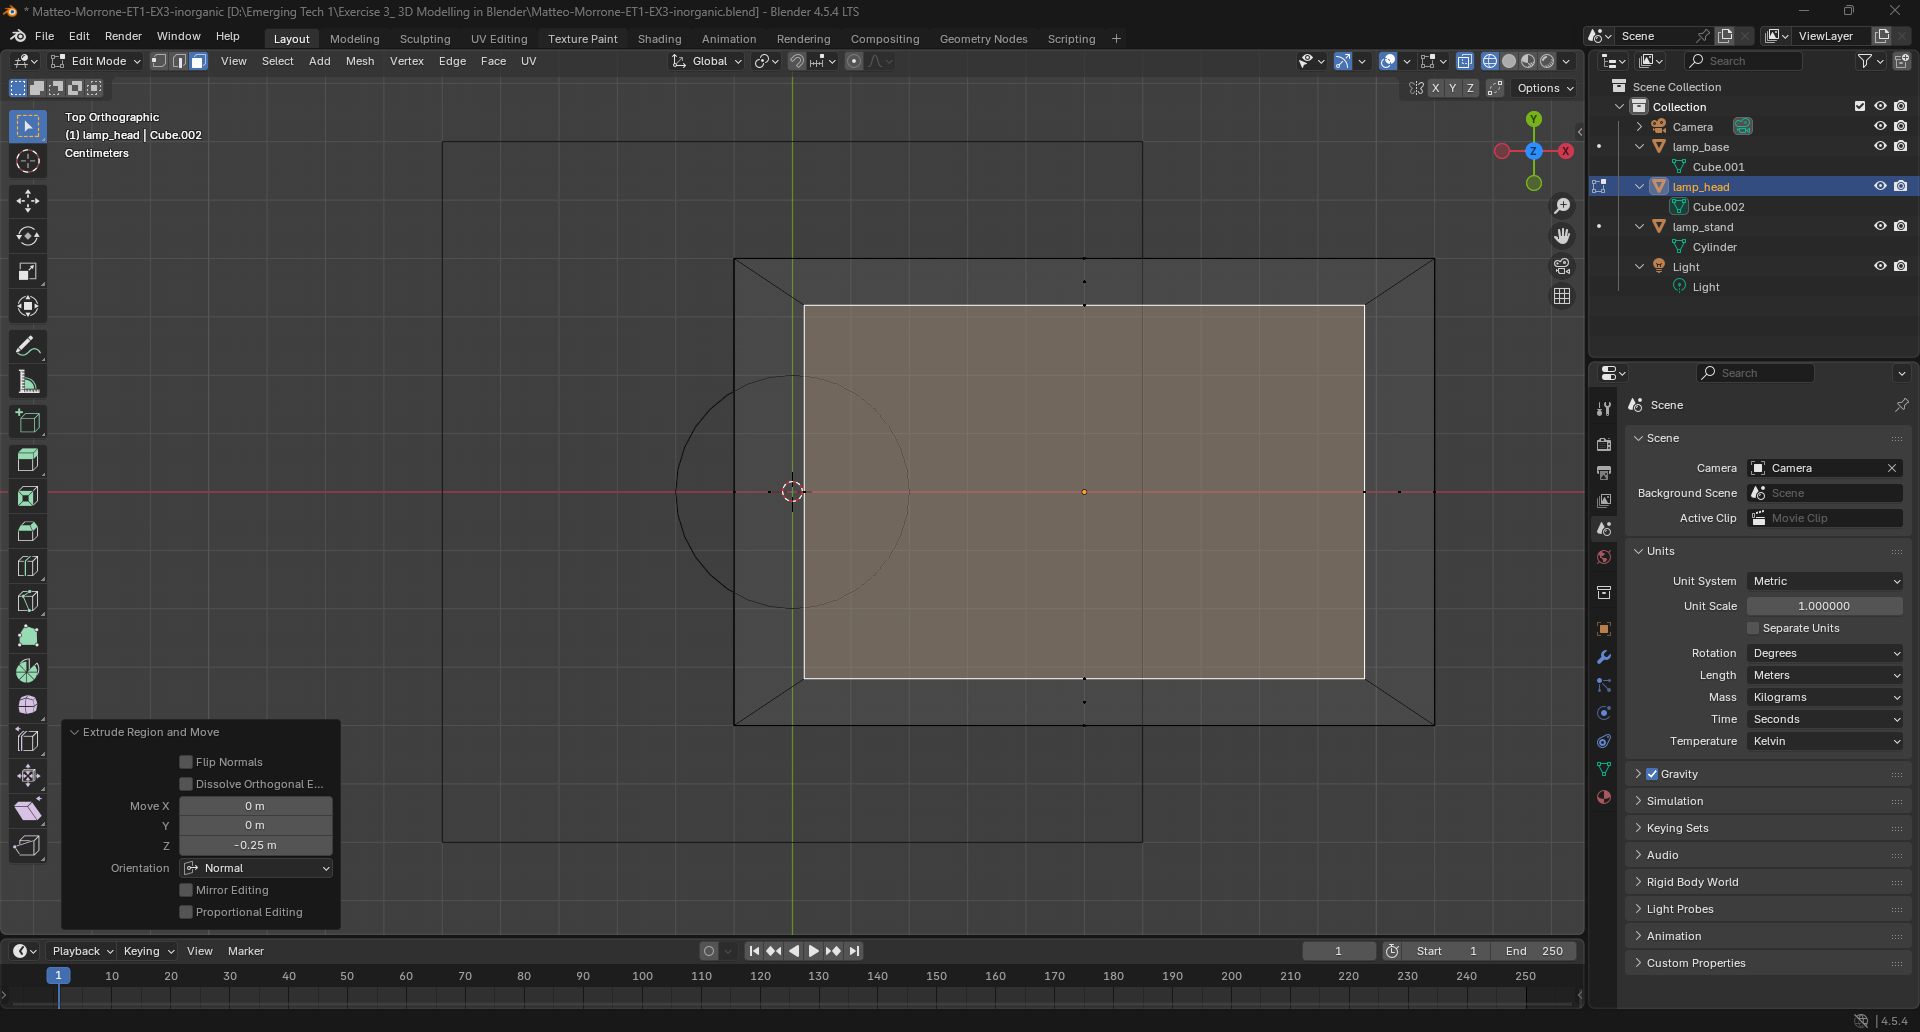

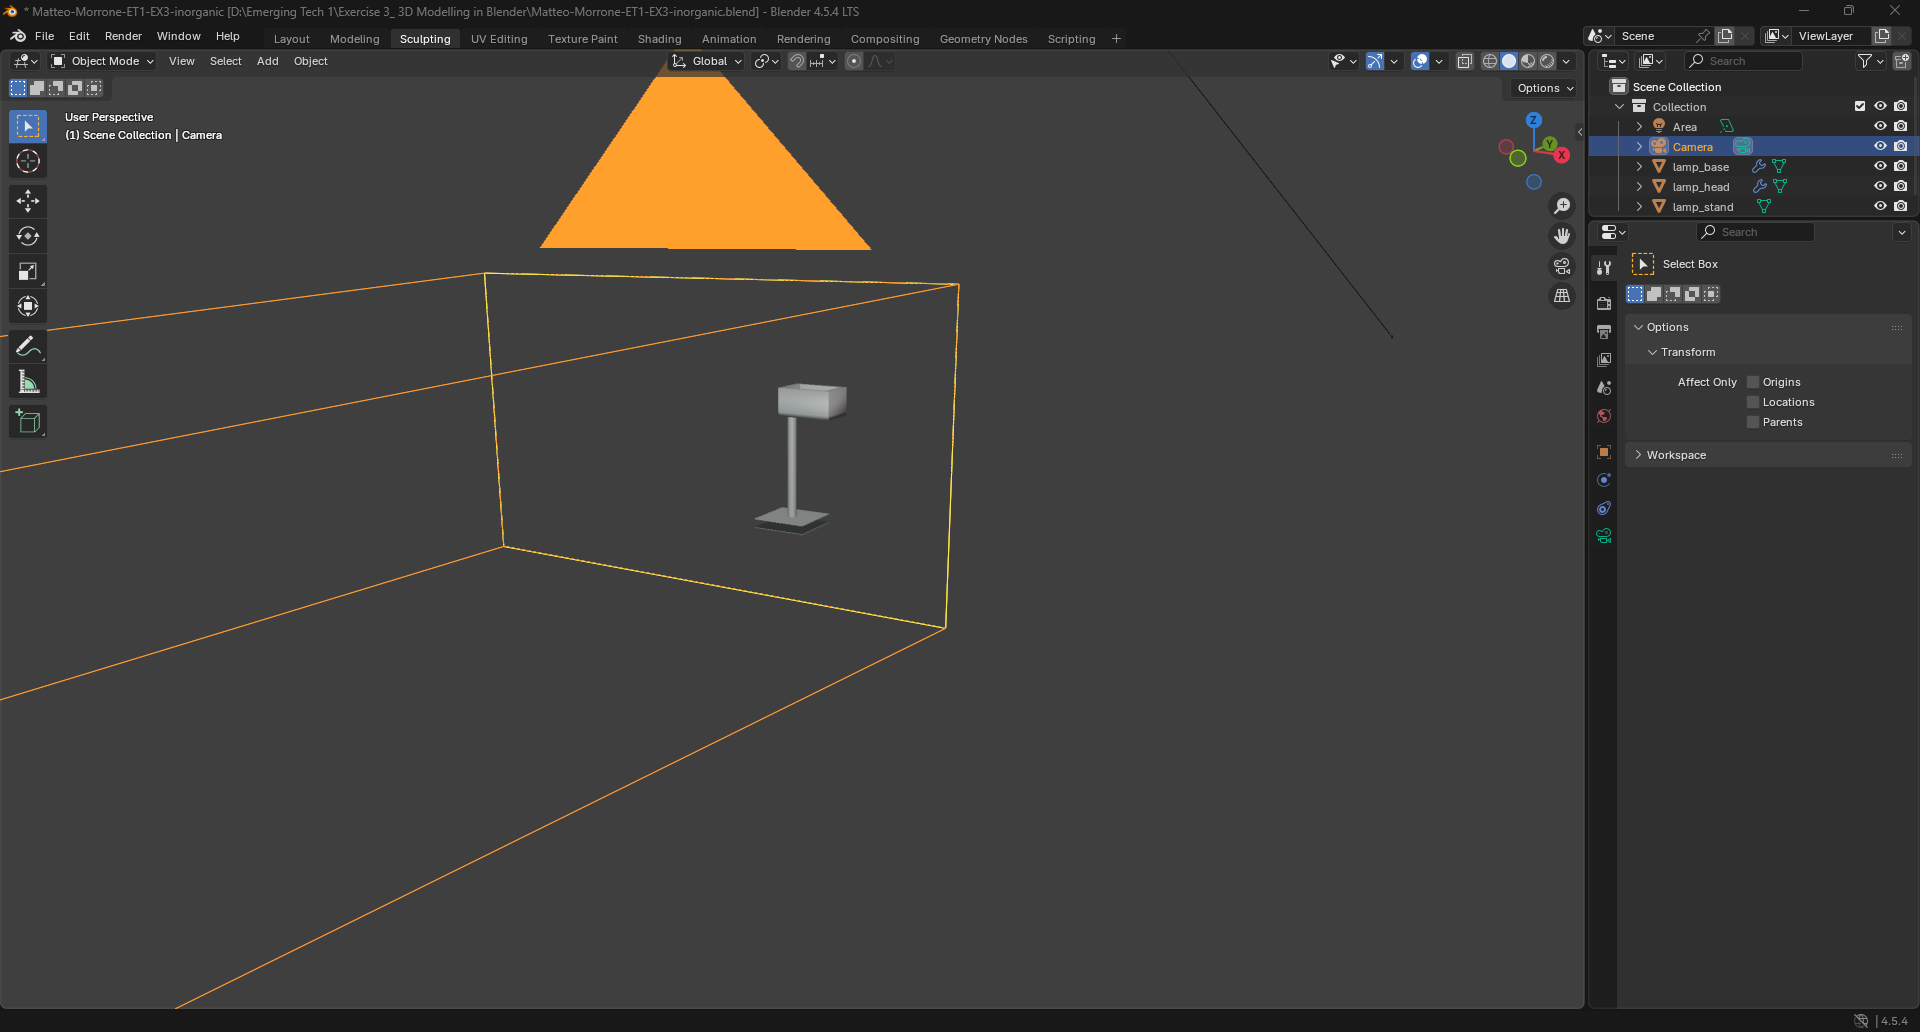
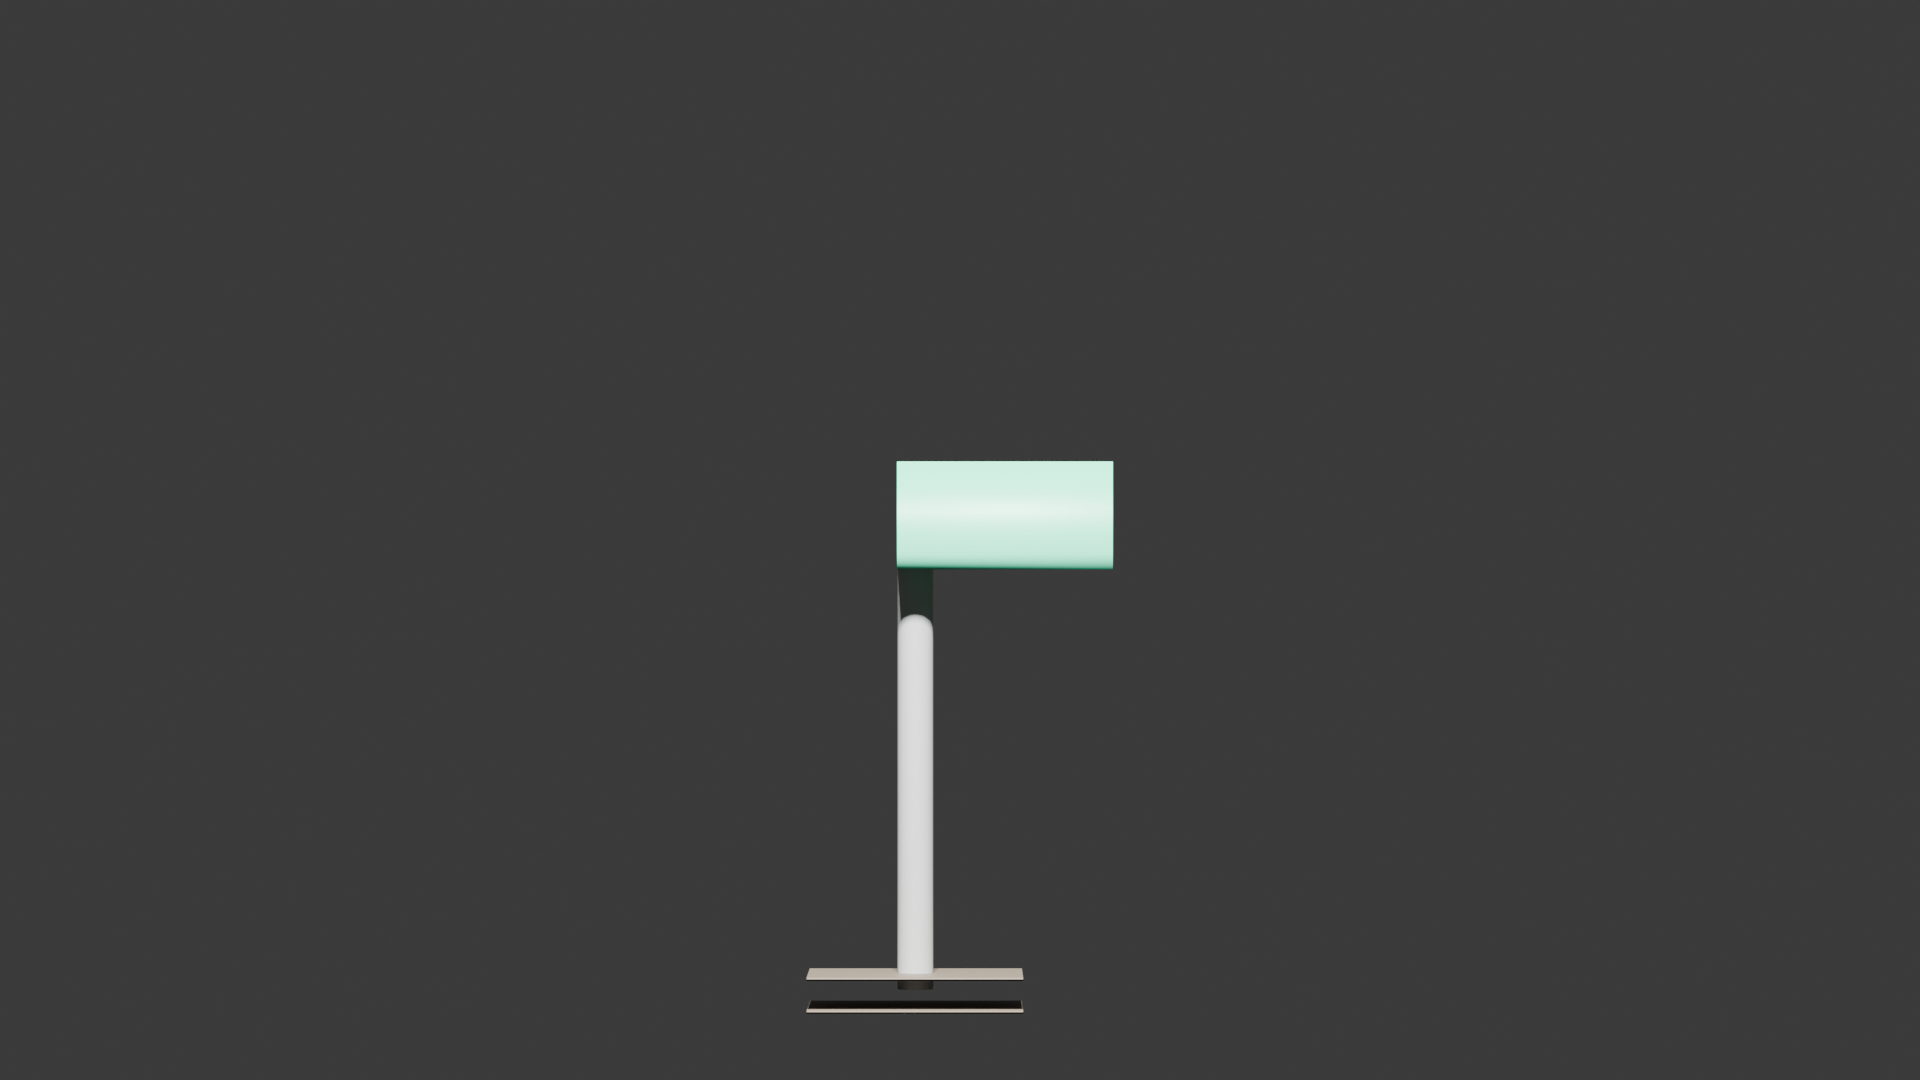
Lamp Steps: I started a new Blender project and deleted the default cube. I added a cylinder to make the lamp base and scaled it to the right size. I added a cube and stretched it upward to create the lamp pole. Then I added another cylinder for the lamp head and rotated it so it pointed downward. I used Extrude to extend a few parts and connect the lamp head to the pole. I adjusted the shapes using Scale and Move until everything lined up. I applied simple materials so the lamp had a color and a basic metallic look. I placed one light in the scene to illuminate the lamp. I positioned the camera in front of the lamp and set up the final view. Finally, I rendered the image to complete the inorganic model.
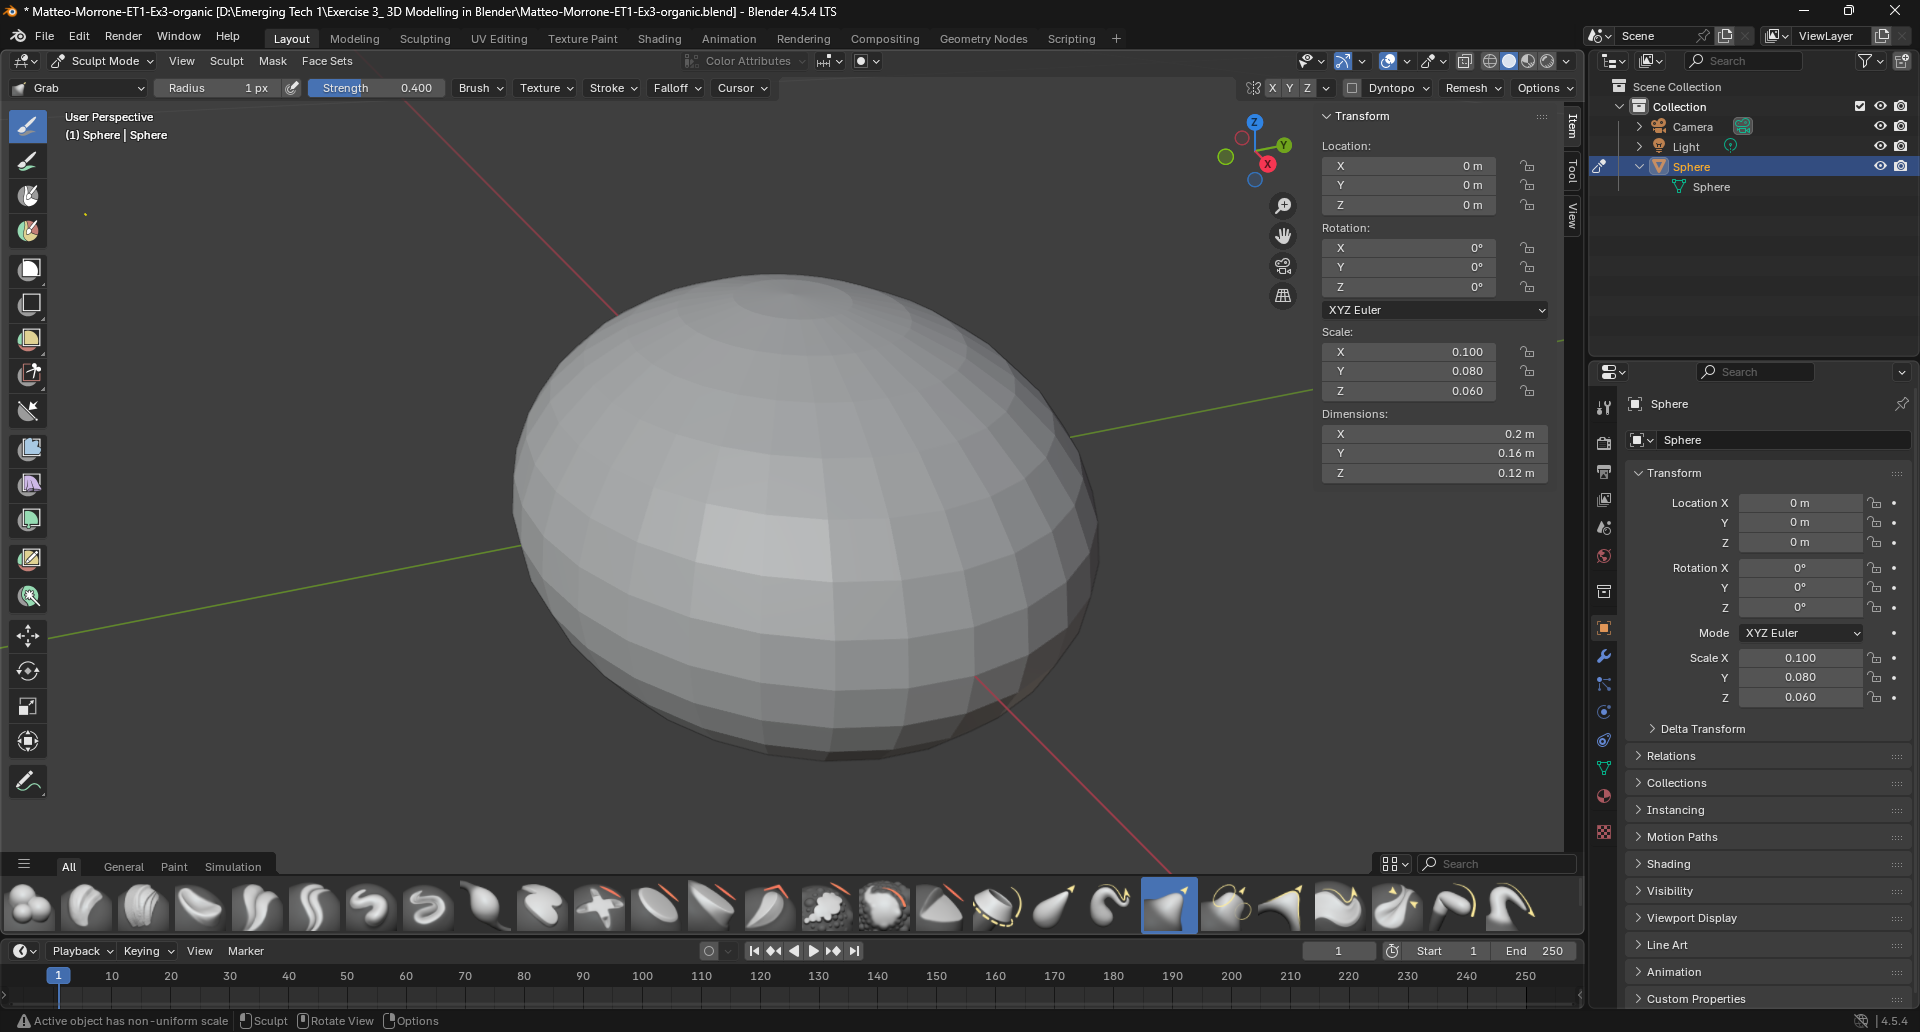
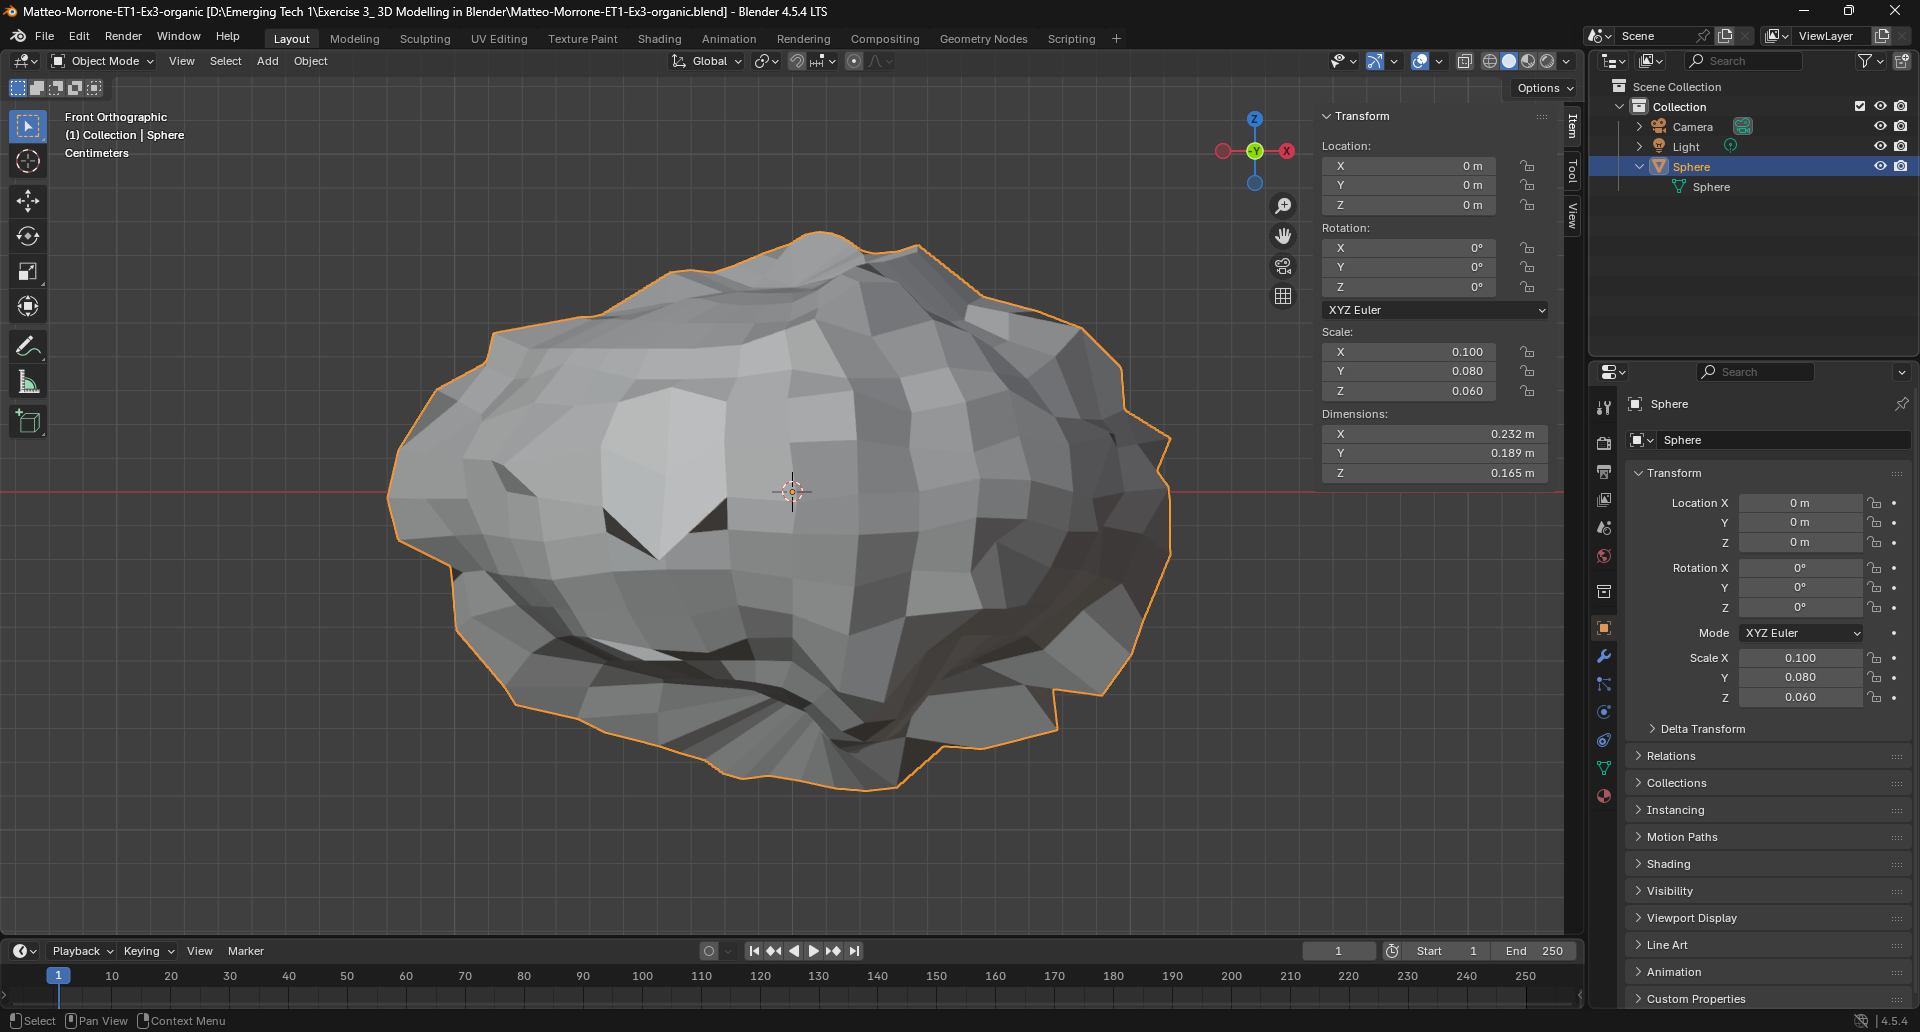
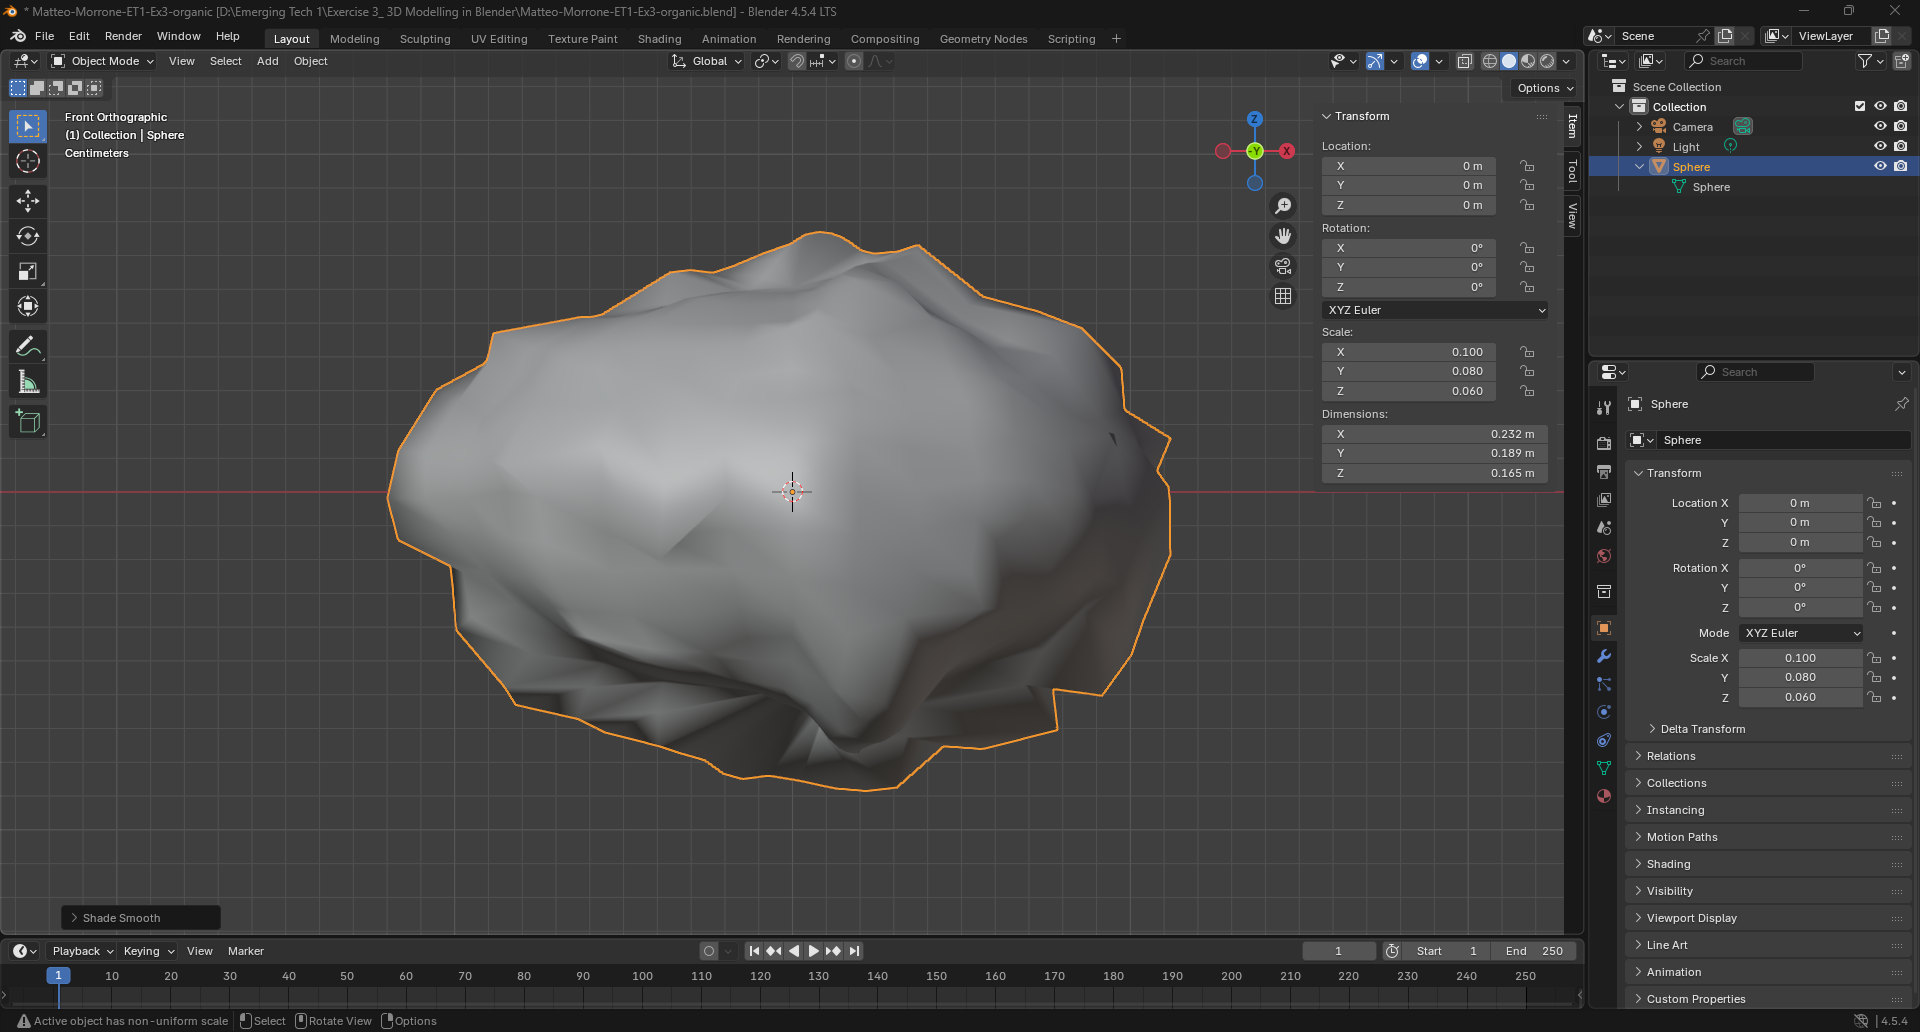
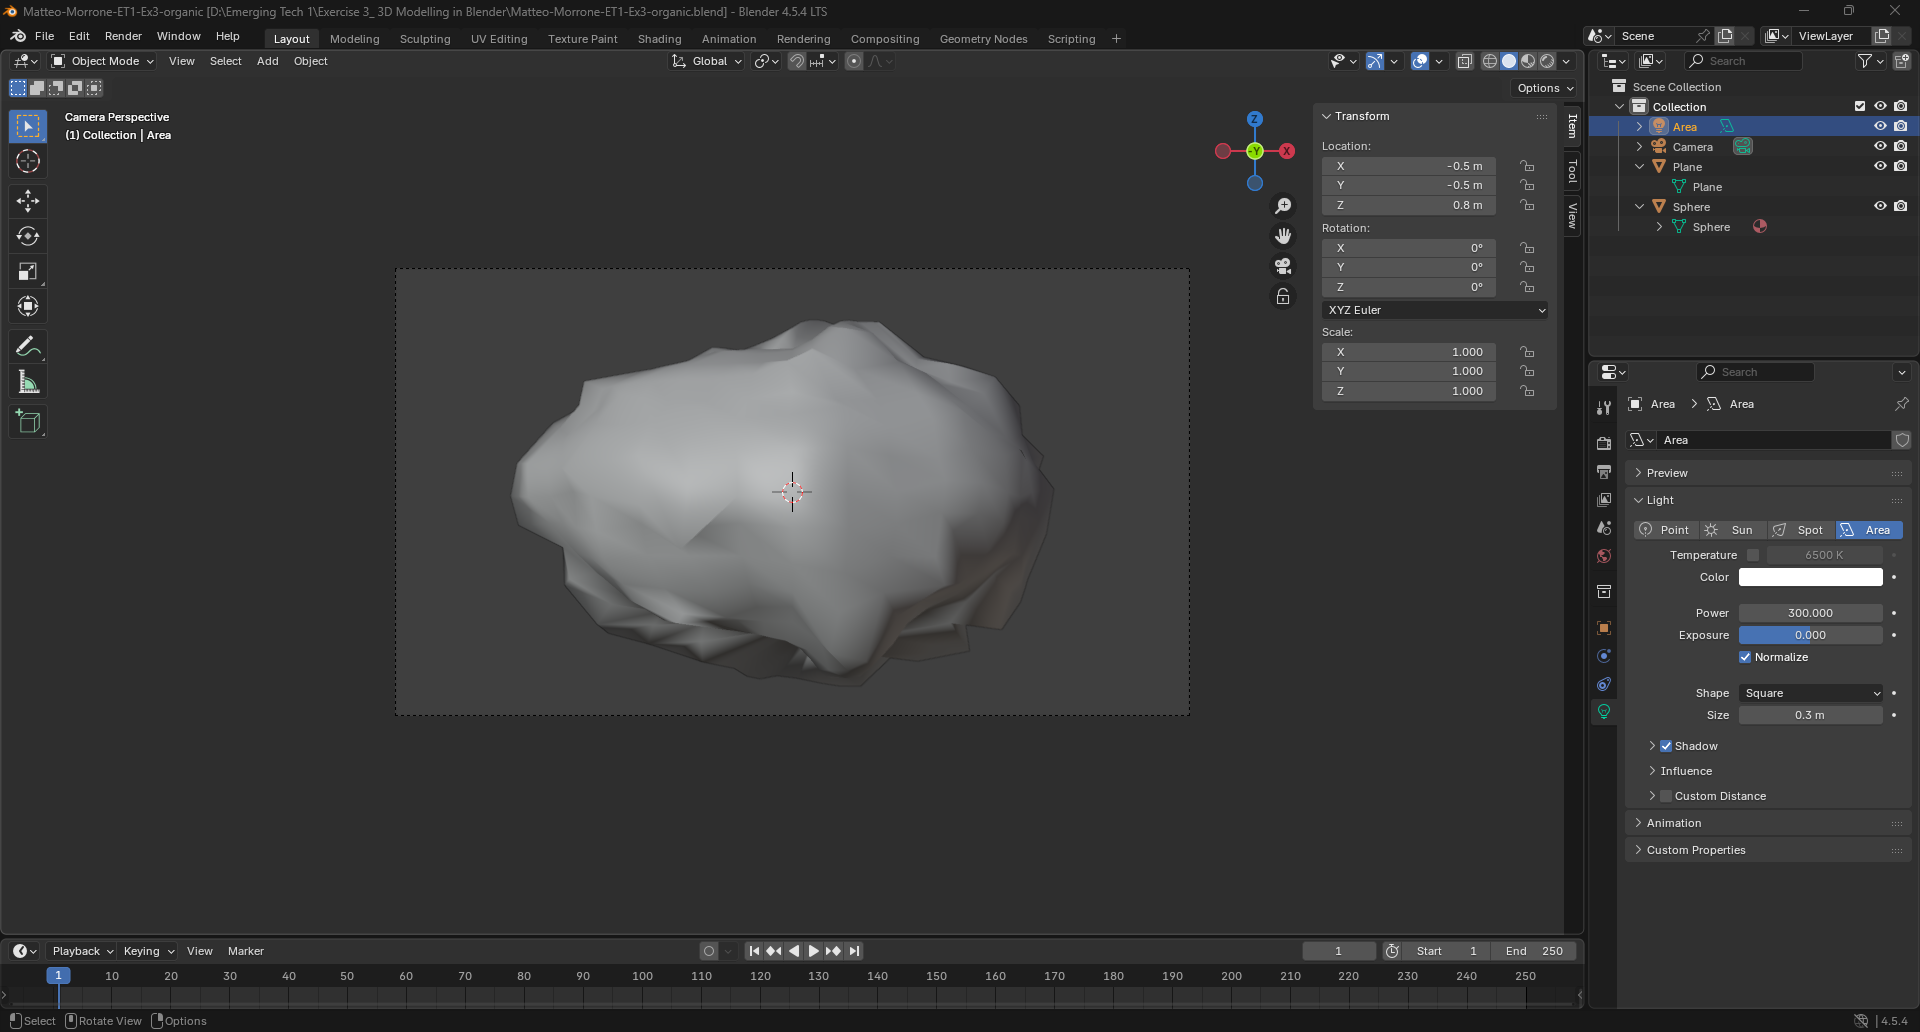
Rock Steps: I began with a new Blender project and deleted the default cube. I added an Icosphere, which is a good starting shape for rocks. I switched to Sculpt Mode and used simple brushes to push and pull the shape into a rough rock form. I added a noise texture to make the rock surface look uneven and natural. I placed three lights around the rock so its shape and details were easier to see. I set up the camera so it framed the rock from the best angle. Then I rendered the scene to finish the organic material.